不管寫哪種程式語言,Debug 絕對是最重要的技巧,寫 PHP 的時候我們通常都是用 var_dump 來幫助我們除錯,但說實在的有點麻煩,尤其是不在本機開發的時候,所以今天這篇主要就是介紹 PHPStorm 搭配 Xdebug 可以直接在 IDE 把變數都 Dump 出來,讓除錯更快速方便!
如果是單人開發,用 SSH TUNNEL 是最簡單的方式,
可參考這篇:http://stuporglue.org/setting-up-xdebug-with-netbeans-on-windows-with-a-remote-apache-server/
環境:
CentOS 7

Nginx 1.11.5

PHP 7.0.12

Xdebug 2.4.1
先安裝 Xdebug
pecl install xdebug
編輯:/etc/php.d/xdebug.ini
相關設定就這些,因為是要多人共用,所以不會設定 xdebug.idekey
zend_extension=/usr/lib64/php/modules/xdebug.so

xdebug.remote_enable = 1

xdebug.remote_handler=dbgp

xdebug.remote_host=127.0.0.1

xdebug.remote_port=9001

xdebug.remote_mode=req

xdebug.remote_autostart=1

xdebug.remote_log=/tmp/xdebug.log
記得重新啟動 php-fpm
service php-fpm restart
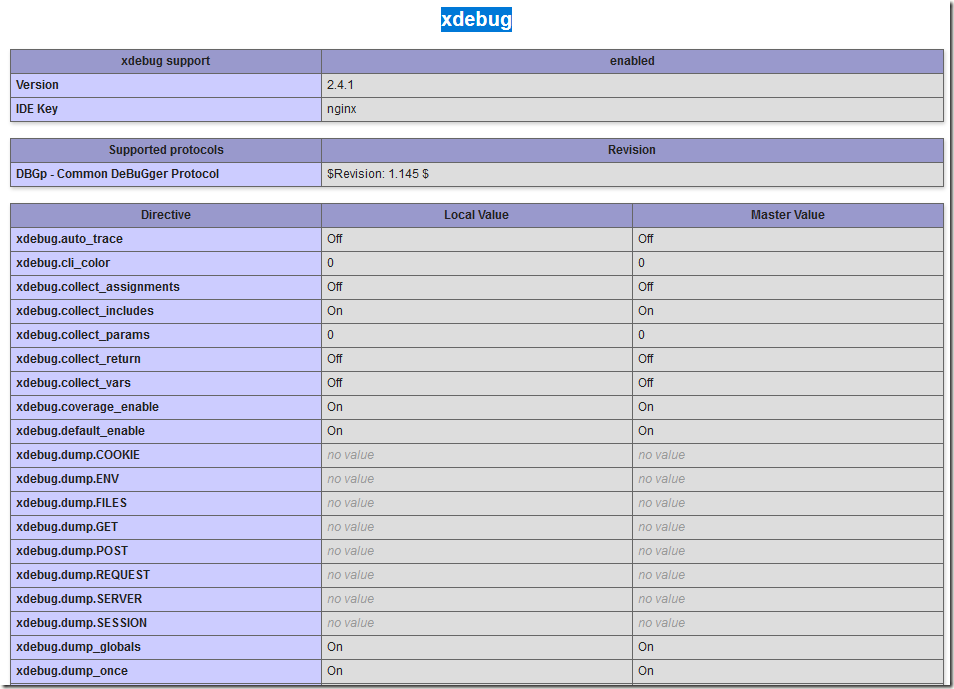
確定 phpinfo 有相關資訊:
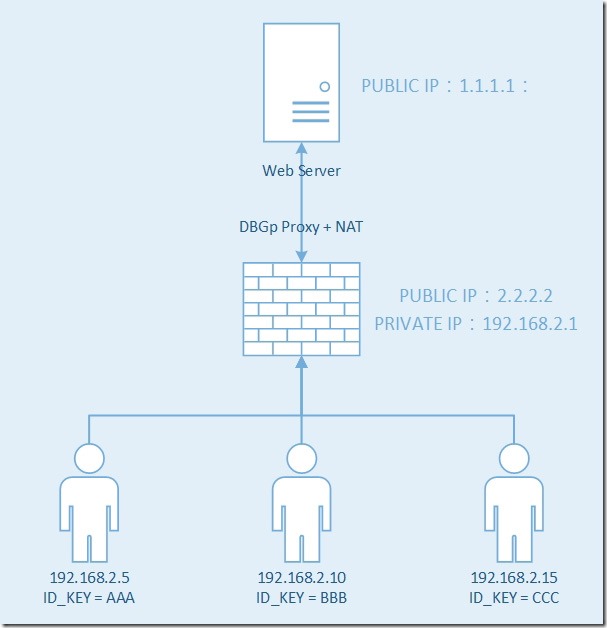
DBGp Proxy 要安裝在 區網的 NAT 上,可以參考下圖:
安裝 pydbgpproxy
cd /opt

mkdir pydbgpproxy

cd pydbgpproxy

wget https://github.com/Mirocow/pydbgpproxy/archive/master.zip ./

unzip master.zip ./

ln -s $(pwd)/pydbgpproxy /usr/local/bin/pydbgpproxy
也可以從這邊下載:pydbgpproxy-master
啟動 pydbgpproxy 丟到背景
nohup ./pydbgpproxy -i 192.168.2.1:9005 -d 2.2.2.2:9001 > /dev/null 2>&1 &
9001 是 xdebug.ini 裡面的 Port,9005 是後面 IDE 要用的 Port
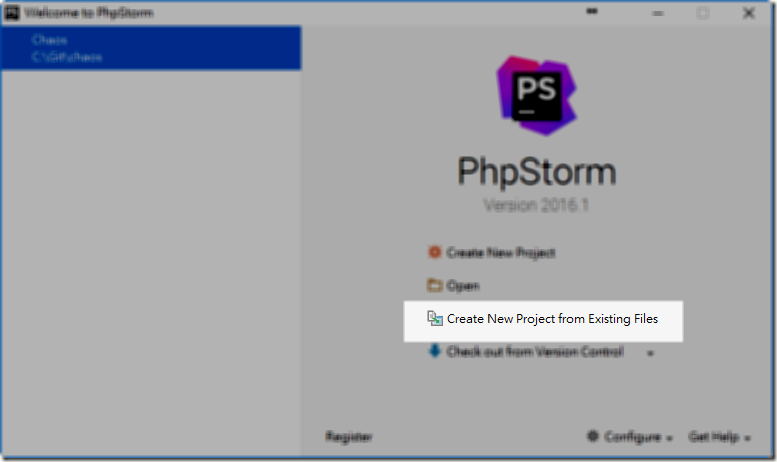
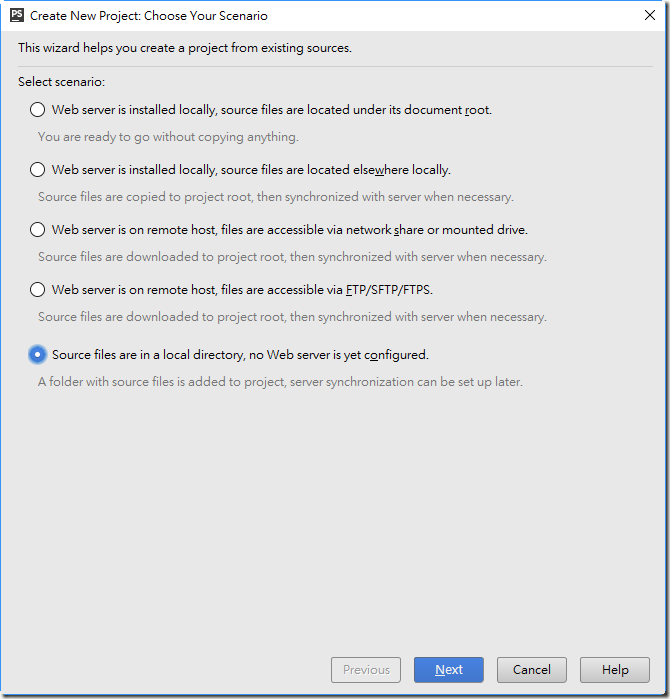
Server 端有裝防火牆的記得要打開 9005 Port,接下來是設定 Client 端的部份,我用的是 PHPStorm 2016
直接選最後一個
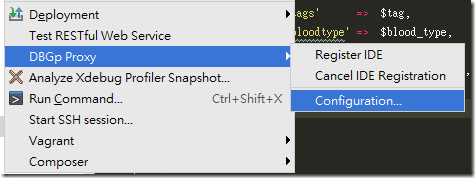
先設定 Tool -> DBGp Proxy –> Configuration
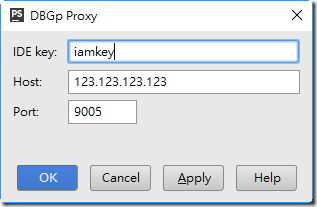
設定 Key ( 不能跟別的 Client 重覆 ),Host 是遠端 Server 的 IP,Port 是我們剛剛啟動 pydbgpproxy 設定的
安裝 Chrome 的 Plugin:
設定完成後,點選右上角話筒的按鈕,打開監聽
設定好中斷點後,點選右上角的小甲蟲
應該會自動啟動 Chrome,瀏覽到要 Debug 的頁面,在網址後面加上:
?XDEBUG_SESSION_START=iamkey
如果沒問題 PHPStorm 就會調出相關資訊,如下圖:
所以只要每個 Client 用不同的 Key 就可以各自 Debug
* 如果設了中斷點,但 PHPStorm 沒反應的話,通常是 Port 沒有通,Server 端 Port 要開,Client 端的 Port 也要記得 Mapping。



發佈留言